- No products in the cart.
September 18, 2020
How To Trim, Dry, and Cure Your Cannabis!
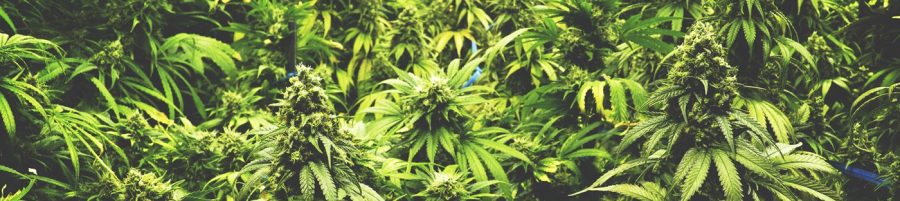
So you’ve finally made it! You’ve dealt with bugs, critters, disease, and harsh weather! You’ve grown your cannabis for months now and it’s time to harvest! This is a great time of the year but it’s also a very busy time of the year due to the upcoming hours of trimming, drying, and curing! But at the end of it all, you’ll have some homegrown cannabis that you can be proud of!
The Trimming Process:
Trimming is a very lengthy process, it’ll take hours at least and days at most! You’ll need the items above for sure if you want to get the job done. You want to start by harvesting branches off of your cannabis plant once it’s ready to harvest. Collect all of the harvested branches into a big container and take that container to the area where you’ll be trimming. Trimming will take many hours to complete once you’ve started, so you need to make sure you are 100% ready to go. You want to make sure the area you’ll be sitting on is very comfortable, so a comfy chair or cushion is highly recommended. Set up your entertainment, trays, containers, cleaning supplies, and anything else you’ll need for the night. Once that’s all done, get your gloves on and start trimming!
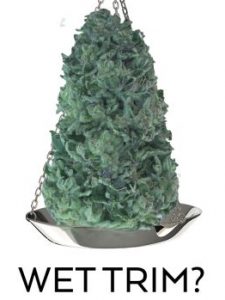 Wet Trim:
A wet trim is when you trim the leaves off of the cannabis plant right after you harvest it. When you perform a wet trim, keep in mind that your scissors, gloves, and anything you touch will be sticky because the plant hasn’t dried out yet. This trim is where we focus on removing a majority of the leaves and where we keenly search for any mold, bud rot, insects, and more.
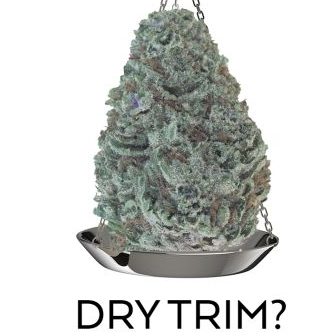
Dry Trim:
A dry trim is when you trim the leaves off of the cannabis plant after you harvest and dry it for several days. When you perform a dry trim, keep in mind that your buds will be dried and the leaves will have curled up tightly towards the bud. This makes dry trimming a little difficult, but people say dry trimming intensifies the flavor. In the end, it’s all a matter of preference. When we do this, we’ve already performed a wet trim before drying these buds out, so this trim is where we continue to trim off any remaining leaves that are poking out now due to the buds shrinking. We perform both kinds of trimming. We do a wet trim first, dry the bud, and then do a dry trim to get it nice and ready for curing.
Here’s What You’ll Need For Trimming Buds:
Here’s a list of things I suggest that you have available when you go to trim your cannabis buds! Please know that this will take potentially many hours or even days to complete, so make sure you have everything you need to get this trimming finished. Get up and walk around regularly so you don’t have your limbs going numb and have the least amount of discomfort that you possibly can achieve.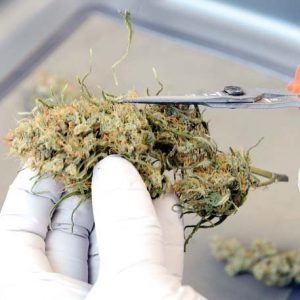
- Trimming Scissors
- Scissor Cleaning Supplies
- Nitrile Free Gloves
- A Big Container
- Collecting Trays
- Cushions
- Entertainment
- Snacks
- Coffee/ Water Bottle
 The Drying Process:
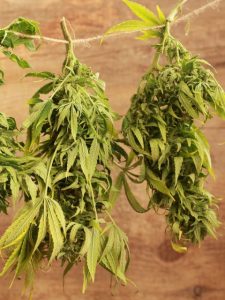
When you’re finished with trimming your cannabis buds you will need to dry your buds! Drying is an important step in the cannabis finishing process. You will need to dry your buds in a location that’s dark and where you can control the humidity of the area. If it gets too humid you encounter the risk of mold forming on the buds. You’ll need to hang your cannabis upside down and let it hang for 5 to 14 days, although however long you let it dry for is entirely up to you and your preference!
Drying Boxes:
We dry our cannabis in drying boxes that we’ve made ourselves. They’re made from cardboard and are hooked up to a humidity sensor, fan, and twine to hang your buds from! It’s best to not open the box often because it’s best to keep it dark in there. If the humidity or temperature is too high, simply switch on the fan and let it exchange the air in the box for around 15 minutes and you should be good to go.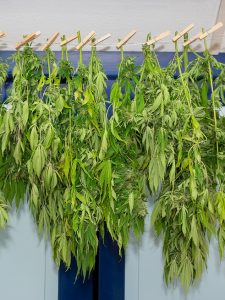
Arranging Your Drying Buds:
When you’ve trimmed all of your buds on your harvested branches, you then need to dry them out because that is the next step depending on if you did a wet trim or not. We did a wet trim first, then we dried the buds for around a week, and then we did a dry trim before beginning the curing process! Make sure you hang your buds so that they won’t touch the sides or bottom of your drying box/ the other buds.
Scrap Buds:
If you have accidentally trimmed off some buds from your branches or they fell off, don’t worry about it! You can still gather all of those buds together and dry them in your drying box along with the rest of your cannabis branches. I suggest putting them on a small tray if you have one available and to leave them in the box for as long as the branches stay in there. Keep in mind that the same rules apply with these “scrap buds” as with your other buds so watch out for mold and high humidity/ temperatures!
The Curing Process:
Curing your buds is the next and final step in this finishing process. You need to keep your buds in a mason jar with the lid tightly screwed on. We’ve also included a humidity sensor along with 1 Integra Boost Humidity Control Pack and 1 Integra Boost Replacement Indicator Card! For the first 1 to 2 weeks of your buds being in a jar, you will need to open your jars for 15 minutes every day. Once those 1 to 2 weeks are over, you should open your jar less and less often until eventually, you only open it when you want to get your buds out and to use them! I’ve heard that most people swear that 62° is the best humidity for curing as it offers the best flavor.
Humidity and Temperature Display Sensor:
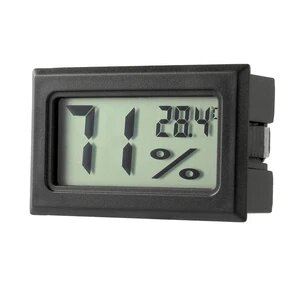
We have placed Humidity and Temperature Displays in our drying boxes and curing jars. These displays show us the humidity and temperature of the area or enclosed space that the sensor is in. This makes it very helpful when you want to know how your plants are doing when drying and curing.
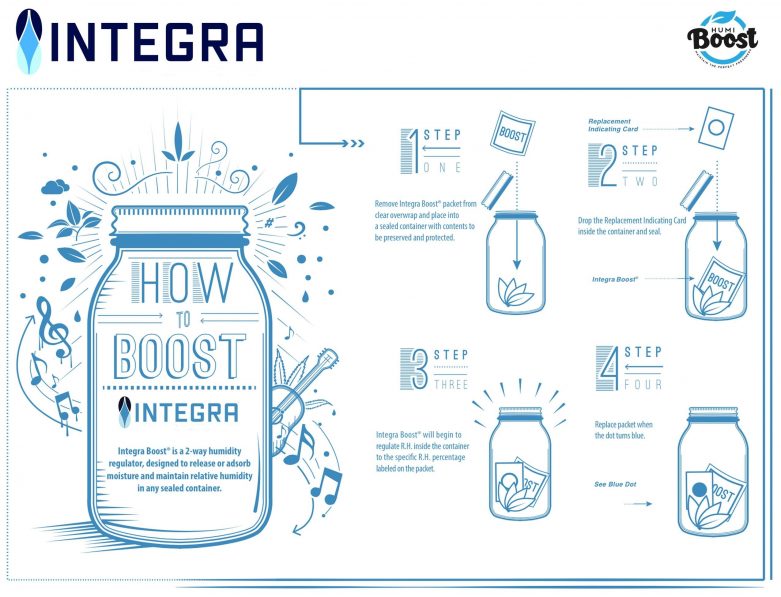
Integra Boost Humidity Control Pack:

Integra Boost Humidity Control Packs work by adapting to their current environment. It’ll constantly function by absorbing or releasing moisture whenever it detects a change in the air. In this case, we’ve put these in mason jars so it’ll work when you open your jars to exchange the air.
Integra Boost Replacement Indicator Card:

It is good to know that the Humidity Packs come with Replacement Indicator Cards. The way the Indicator Cards work is very simple. Each of them has s circle in the center of them and that’s initially red. When that red circle turns blue, you should replace the Humidity Pack and the Indicator Card!