- No products in the cart.
October 2, 2020
Worm Farming
Worms provide many great benefits and will be of great use to your garden! In today’s article, we’ll be going over how you can build your very own worm bin farm, the worm bedding, and what type of worms we suggest that you use! Worm farms often produce two great things that are amazing when used in a garden: Worm Tea and Compost! Worm Tea is the excess waste worms produce and it comes in a liquid form, you’ll have to dilute this because it’s very strong. Compost is what you’ll be left with after a month to few months after your worms have all moved to a new bin that’s above the one they’re currently in, compost is amazing for your soil and every gardener should have a dedicated worm farm as well as a composter!
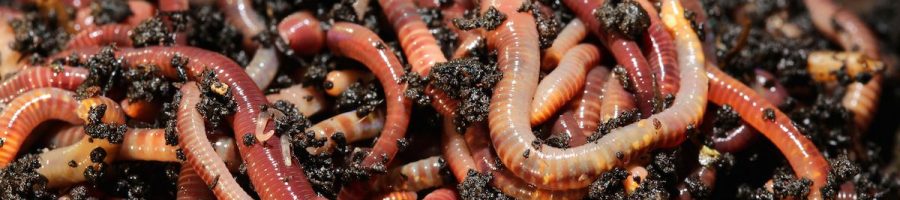
Red Wiggler Worms
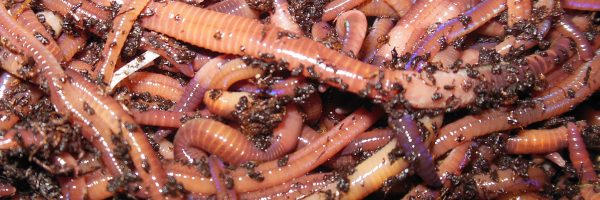
Red Wiggler worms are the worms we’ve used for our worm farm. Red Wigglers are unique due to the fact that they travel upwards while other worms travel down! They’re good for composting and will breed if they are well fed and content!
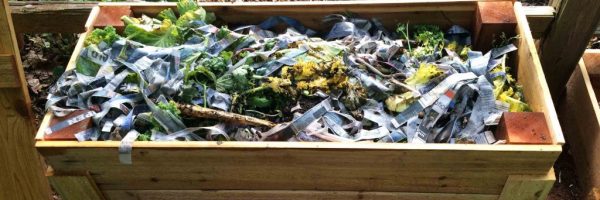
Worms are surprisingly very picky when it comes to what they’ll eat. Here’s a small list of what you can feed to your worms.
- Leaves
- Vegetable scraps
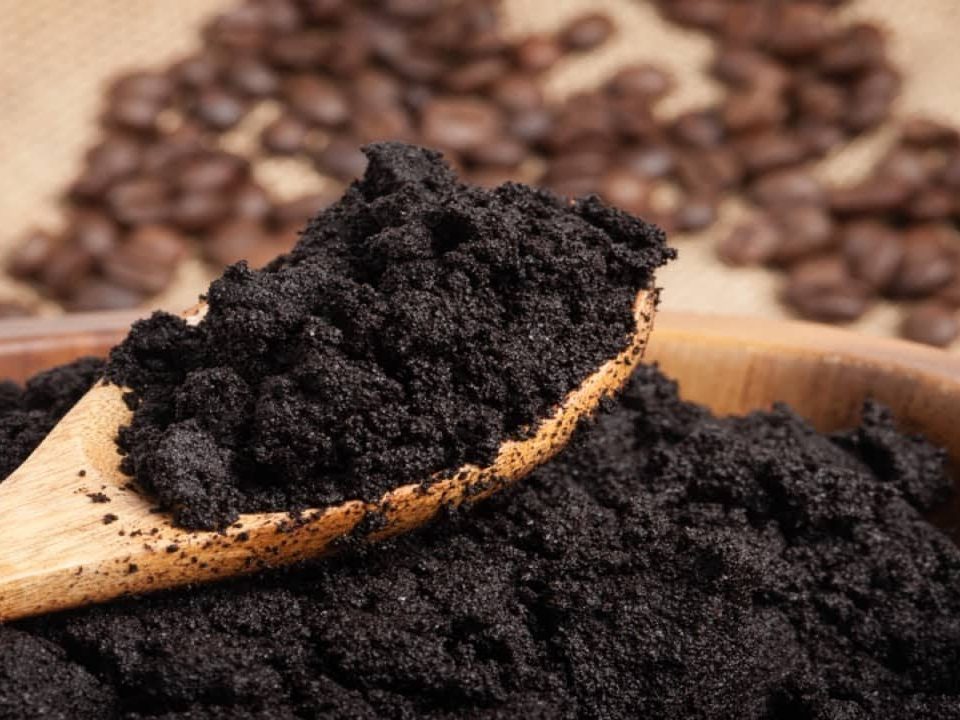
- Coffee grounds
- Fruit Rinds
- Fruit Cores
- Fruit Skins
- Teabags
- Bread
- Cardboard
- Newspaper
- Eggshells
How To Build Your Own Worm Farm
The process of building your own worm farm bins is a very simple one. You can use a variety of materials to construct your worm farm out of, with the most common being made out of plastic or wood, in some cases people have used an entire bathtub. So here’s what you’ll need.
- At least 2 containers/ 1 bathtub
- A spigot
- Red Wiggler Worms
- An electric drill
- Items to separate your bins
To start building your worm farm (for this case, we’ll be going over a plastic worm farm.) you will need to drill or cut out a hole for you to install a spigot, you want to do this at the bottom of your container. This container with your spigot will be where your worm tea will be located. Then you will need to get your second container ready. This container will be the one where you put your worms, worm bedding, and worm food. Drill a small number of holes into the bottom of this container, these will allow the worm tea to drop into the bottom container. You want to also drill holes in the sides to allow air to get in the container so your worms can breathe. You want to cut some wood so you’ll be able to separate the two containers, but the length of them will depend on how much space you want between the two containers!
Plastic
Plastic is a common material people use for their own worm farms. Plastic containers are cheap and easy to convert for your worm farms. Most containers will work no problem, get a container with a depth that you want. Some people like taller containers, some people like shorter containers.
Wood
Wood is a common material people use for their own worm farms. Wood can be used to construct containers in any fashion that you want, so you’ll get more customization and control than you would with plastic containers as those are already shaped when you buy them!
Bathtub
Bathtubs are another common container used in worm farms. The drain in the tub makes for a great place to place a spigot so you can collect your worm tea! You’ll have to have your tub placed in an elevated area for it to work properly.
How To Make Your Own Worm Bedding!
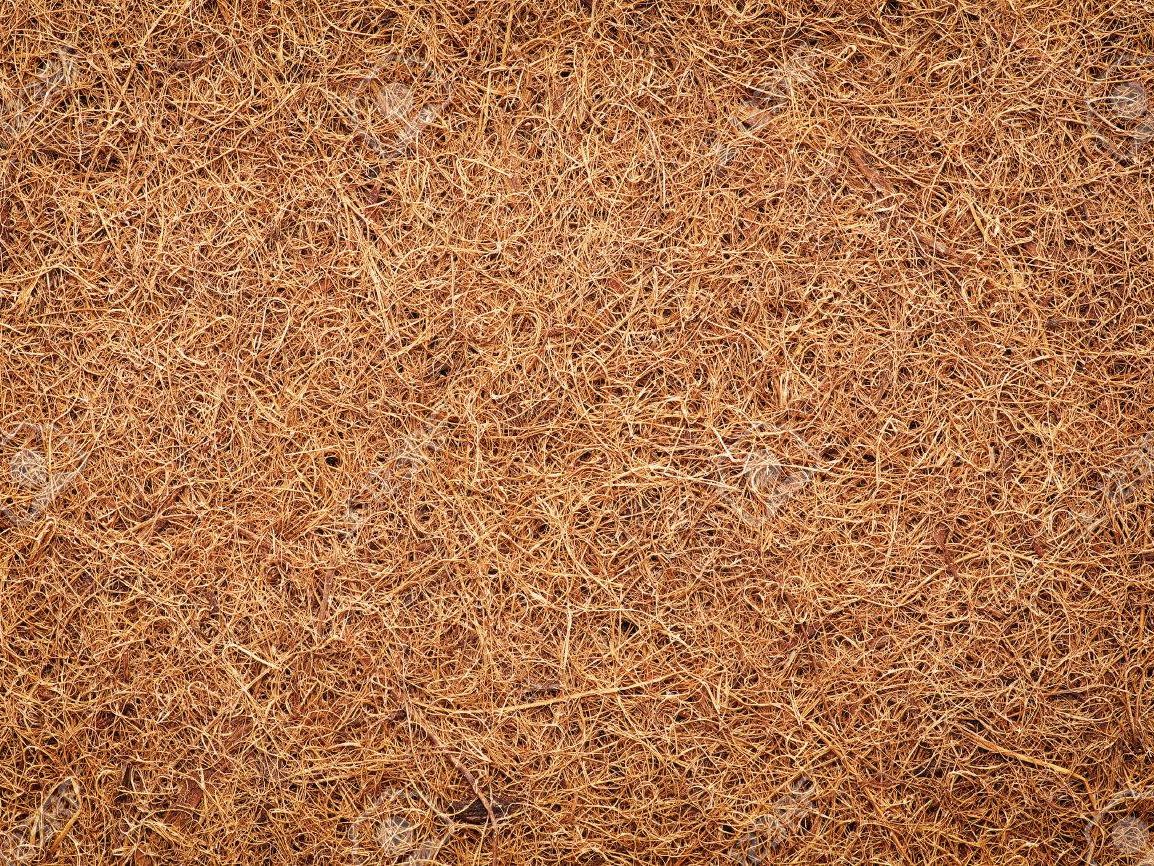
Coconut Fiber
Newspaper Shreds

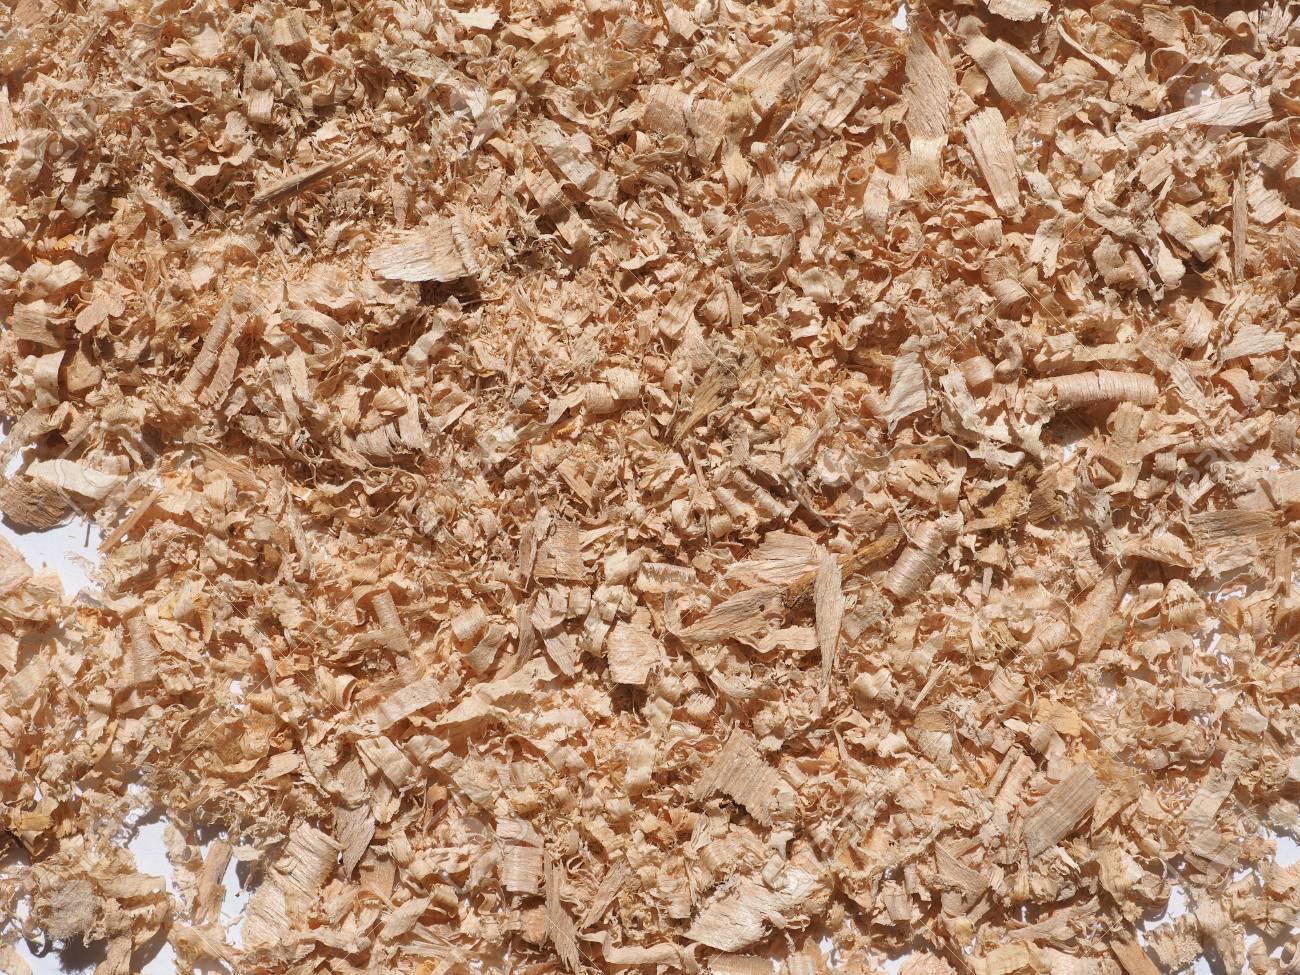
Sawdust
Coffee Grounds
Step One:

Grab some dirt and put it into the plastic bin you will be your worms and food into. Do not put it in the worm tea bin, you want nothing in there.
Step Two:
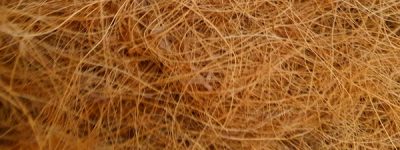
Grab some coconut fiber and put it into the same bin that you put your dirt in. Also making sure to not put this in the worm tea bin on the bottom.
Step Three:

Add in your shredded newspaper to the bin. Make sure it’s finely shredded and spread out. You want it to be spread all along the bottom of your bin.
Step Four:

Do the same with your sawdust and coffee grounds. Mix all of this together well. You need enough bedding to put food in and cover it up.
Step Five:
Once you’ve mixed the bedding, you want to get it nice and damp for your worms. Use a sprayer so you don’t drench your worm bedding.
Step Six:

Once this is all done, your worm bedding is all set to go. Now put in some food, worms, and cover your bedding. Keep this out of the light and in the dark.